ShotLattice workflow
How to prepare App Store screenshots on a Mac
Prepare a deliberate screenshot set before App Store Connect: start with approved source captures, choose the required Apple device targets, review copy per locale, and export only after each combination is complete.
Plan the screenshot story
App Store screenshots are release metadata. Before opening a layout tool, decide what each image needs to communicate: the first image should make the app’s main value clear, and the later images should explain one benefit or workflow at a time. Apple permits one to ten screenshots and says that the first one to three may appear in search results when no app preview is available.
Collect only approved captures from the build you plan to submit. Give them stable, ordered filenames such as 01-home.png, 02-plan.png, and 03-progress.png. Keep the filenames and a short intent note together outside the tool. This avoids trying to infer which screen a file represents after copy and localisation work has begun.
ShotLattice works with local PNG or JPEG source images and prepares export files locally. Make the App Store Connect upload and submission as a separate release step.
Confirm the Apple targets before choosing a preset
Check Apple’s current screenshot specifications for the platforms your app actually supports. Apple currently lists accepted sizes by device display and orientation, and the requirements can change. If your interface is the same across device sizes and localisations, Apple says that providing the highest required resolution can let App Store Connect scale down for smaller sizes. That is a delivery rule to verify for the specific app record, not a reason to assume that one exported image covers every platform.
ShotLattice has two portrait presets: iPhone 6.9-inch at 1320 × 2868 pixels and iPad 13-inch at 2064 × 2752 pixels. They are useful starting targets for those two portrait wells. They do not cover every iPhone, iPad, Mac, Apple Watch, Apple TV, Vision Pro, landscape, or future Apple requirement. Do not resize an arbitrary source merely to make it look like a supported preset; choose the target that matches the App Store Connect requirement you have confirmed.
If the app runs on another platform or needs a different orientation, prepare that media in the appropriate workflow. Keep a short release checklist with the device targets, orientation, screenshot count, locale, and source-build identifier. It makes a late metadata change visible before it becomes an upload problem.
Build one reviewable local set
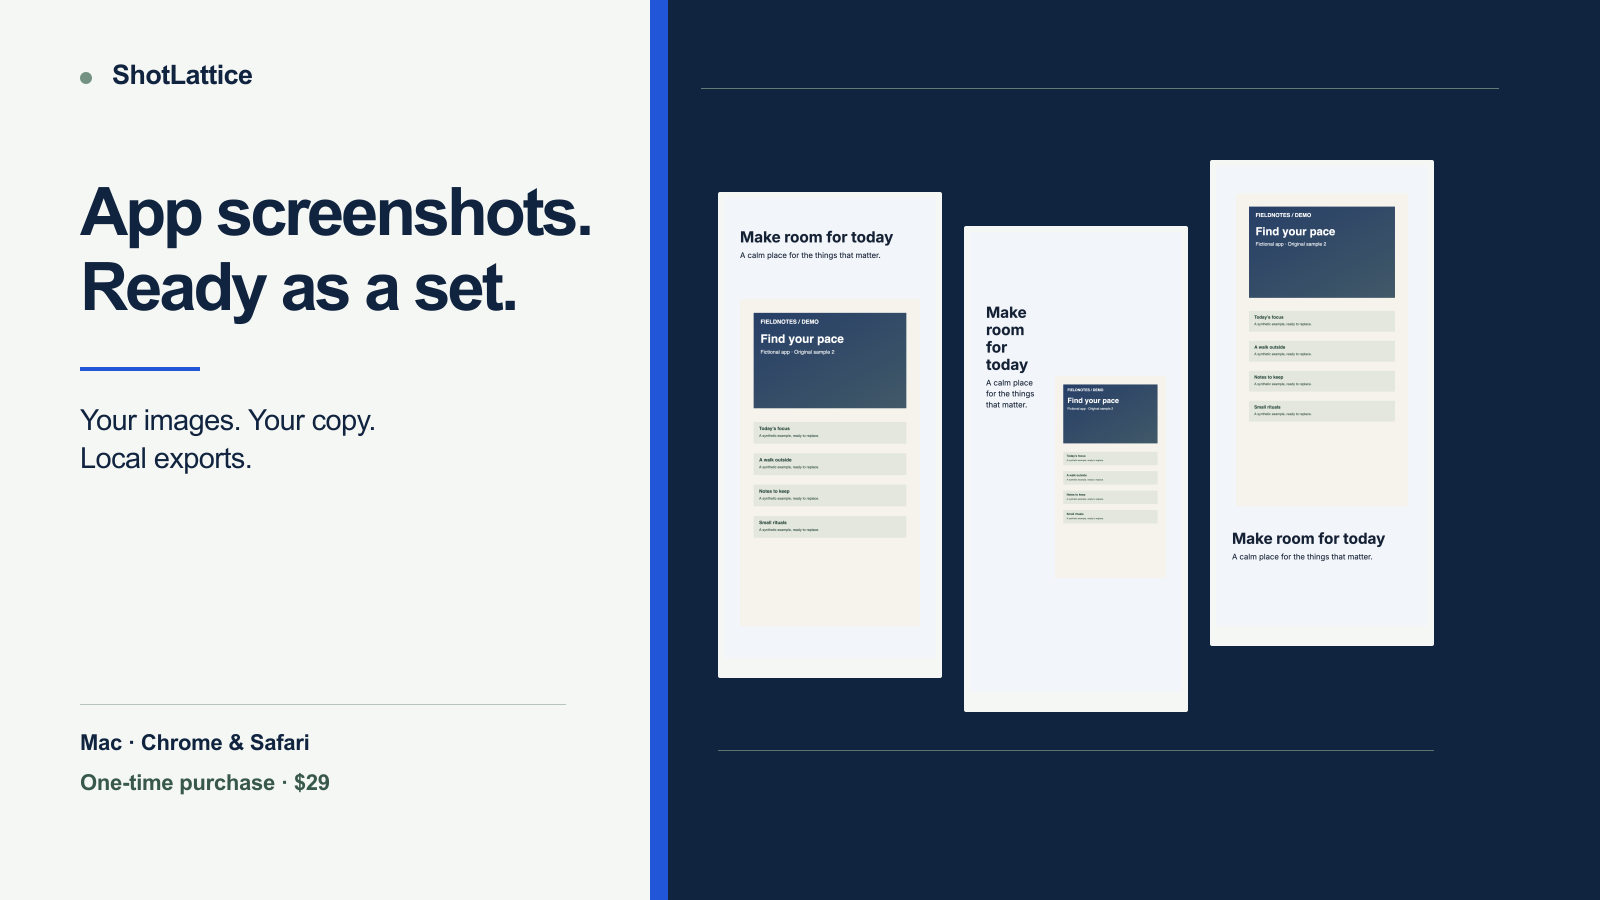
Open START.html from the downloaded ShotLattice folder. Import the finished source captures in their intended order, choose a layout, and select the portrait formats that belong to the release. The full version supports up to 20 images, up to five languages, three layouts, and the two portrait formats above. It previews every selected image × language × format combination.
Write a default headline and subtitle for each language, then inspect every combination. Use an image-specific override only when a particular screen needs different wording. ShotLattice stops export when required copy is missing or does not fit the chosen layout; shorten or rewrite the copy rather than treating overflow as a visual detail. The preview is the place to catch a title that is technically valid but no longer supports the screenshot beneath it.
Use the included fictional exports only as an example of output structure. They are not evidence that your app meets Apple’s current requirements. When the set is ready, export the PNG ZIP and inspect the manifest plus a few output files in an independent image viewer. Then upload and arrange the files in App Store Connect yourself.
For a narrow public trial, use the limited ShotLattice demo. It is intentionally restricted to one example image, one language, and one iPhone format; it is not a preview of the full batch workflow.
Localise only after the base story is stable
Once the base language has a coherent story, add localised copy and review it in context. A translated sentence that fits a spreadsheet cell can still fail visually. The companion guide, Localize App Store screenshots with CSV copy, shows how to prepare default language rows before you add image-specific overrides.
Keep the source captures, copy file, exported archive, and submission notes together for the release. That gives the next version a controlled starting point instead of a folder of unlabelled screenshots.
See the complete ShotLattice workflow and its supported limits.
Keep a working copy
Free resources
Download, adapt and use these examples in your own work. No signup is needed.